Benefits of Contouring
Contouring is a makeup technique that has been around for decades, but it has gained immense popularity in recent years. The reason for this is simple - contouring can completely transform your face, giving it a chiseled, defined and lifted appearance. With the right products and technique, you can create the illusion of high cheekbones, a slimmer nose, a sharper jawline, and even a smaller forehead. Contouring is also a great way to enhance your natural features and highlight your best assets. It can be used to add depth and dimension to your face, making it look more three-dimensional and photogenic.
Another benefit of contouring is that it allows you to customize your makeup look according to your face shape and skin tone. With so many different contouring products and shades available, you can create a look that is unique to you. Contouring can also be used to correct asymmetrical features or to balance out facial proportions. Ultimately, contouring is a powerful tool that can help you achieve the makeup look of your dreams.
Different Types of Contouring Products
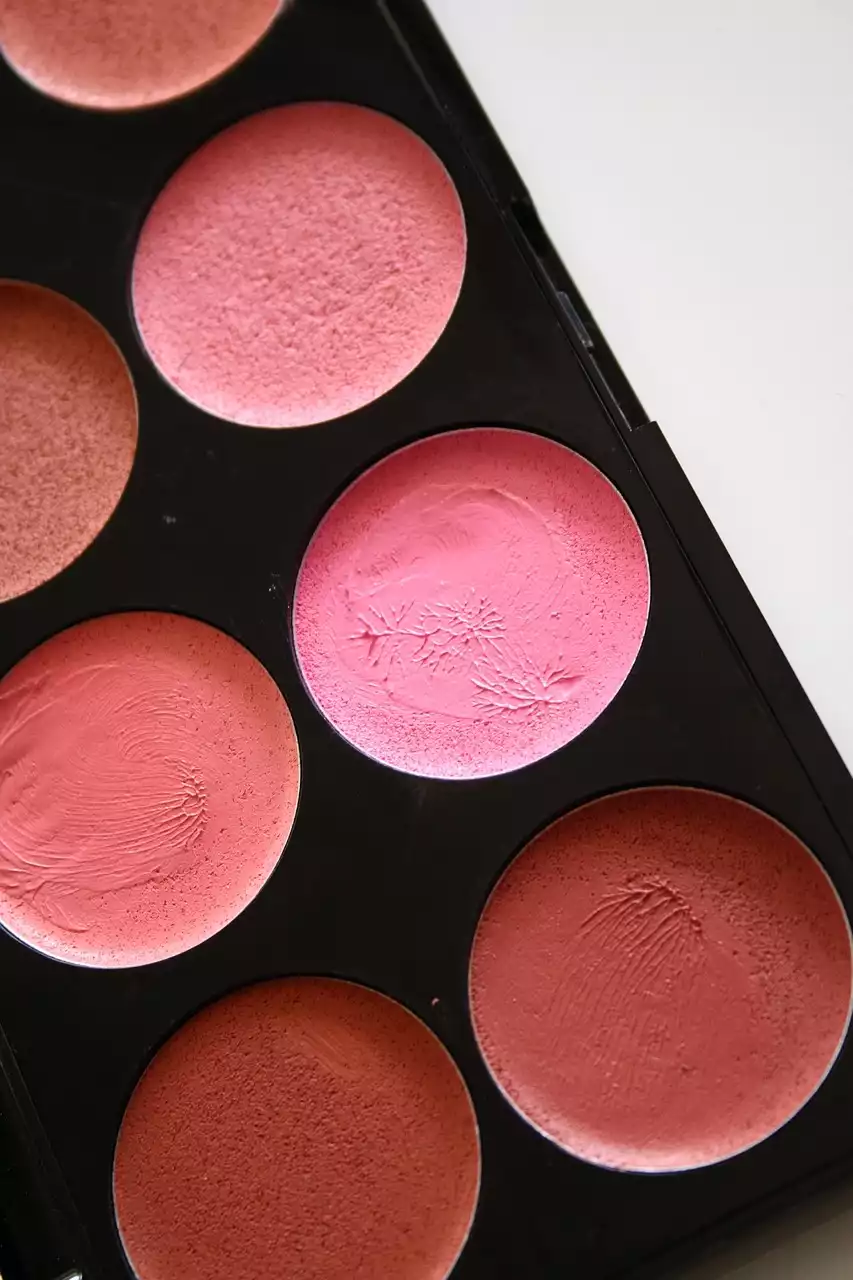
Before we dive into the different contouring techniques, let's take a look at the different types of contouring products available. The most popular contouring products are powders, creams, and sticks. Powder contour products are great for beginners as they are easy to apply and blend. They also work well for oily skin types. Cream contour products are ideal for those with dry skin as they provide a dewy finish. They are also more pigmented than powders, which means you need to use less product. Stick contour products are the most portable and easy to use. They are also great for touch-ups throughout the day.
When it comes to shade selection, it's important to choose a color that is about two shades darker than your natural skin tone. You can also use a shade that is one shade lighter than your skin tone to highlight certain areas of your face. The key is to choose a shade that matches your undertone. If you have warm undertones, choose a contour shade with a warm undertone. If you have cool undertones, choose a contour shade with a cool undertone.
The 5 Basic Contouring Techniques
Now that you have an idea of the different types of contouring products available let's dive into the five basic contouring techniques.
1. Cheekbone Contouring
Cheekbone contouring is one of the most popular contouring techniques. It involves creating a shadow beneath the cheekbones to make them appear higher and more defined. To achieve this look, use a contour powder, cream or stick and apply it directly beneath your cheekbones, starting from your ears and blending towards the center of your face. Use a light hand and build up the intensity slowly. You can also use a highlighter on the top of your cheekbones to make them pop.
2. Nose Contouring
Nose contouring is another popular technique that can help make your nose appear smaller and more defined. To achieve this look, use a contour powder, cream or stick and apply it on the sides of your nose, blending it upwards towards the brow bone. You can also apply a small amount of contour product on the tip of your nose to make it appear more lifted. Be sure to blend well, so that there are no harsh lines.
3. Forehead Contouring
Forehead contouring is a technique that can help make your forehead appear smaller and more defined. To achieve this look, use a contour powder, cream or stick and apply it along your hairline, blending it downwards towards the center of your forehead. You can also blend a small amount of contour product into the temples to make them appear more defined.
4. Jawline Contouring
Jawline contouring is a technique that can help make your jawline appear more defined and sculpted. To achieve this look, use a contour powder, cream or stick and apply it along your jawline, blending it downwards towards your neck. Be sure to blend well, so that there are no harsh lines. You can also apply a small amount of contour product on your chin to make it appear more pointed.
5. Full Face Contouring
Full face contouring involves contouring all the areas of your face to create a more sculpted and defined look. To achieve this look, use a contour powder, cream or stick to contour your cheekbones, nose, forehead, jawline, and chin. Be sure to blend well, so that there are no harsh lines. You can also use a highlighter to accentuate the high points of your face.
Choosing the Right Shade and Products for Your Skin Tone
Choosing the right shade and products for your skin tone is crucial when it comes to contouring. If you choose a shade that is too dark or too light, your contour will look unnatural and obvious. The key is to choose a shade that is close to your natural skin tone, but a few shades darker. If you have fair skin, choose a cool-toned contour shade that is one or two shades darker than your natural skin tone. If you have medium skin, choose a warm-toned contour shade that is two shades darker than your natural skin tone. If you have dark skin, choose a contour shade that is warm-toned and two to three shades darker than your natural skin tone.
When it comes to choosing the right product, it's important to consider your skin type. If you have oily skin, opt for a powder contour product. If you have dry skin, opt for a cream or stick contour product.
Step-by-Step Guide to Contouring Your Face
Now that you have an idea of the different contouring techniques and products available, let's walk through a step-by-step guide to contouring your face.
1. Start by applying your foundation and concealer as you normally would.
2. Choose a contour product that matches your skin tone and undertone.
3. Use a contour brush, sponge or your fingers to apply the contour product to the areas you want to sculpt and define.
4. Blend the contour product well, using circular motions, to avoid any harsh lines.
5. Apply a small amount of highlighter to the high points of your face, such as your cheekbones, brow bone, and the tip of your nose.
6. Blend the highlighter well to avoid any harsh lines.
7. Set your makeup with a setting spray to ensure it lasts all day.
Tips for Blending and Highlighting
Blending and highlighting are just as important as contouring when it comes to achieving a flawless finish. Here are a few tips to help you get it right.
- Use a blending sponge or brush to blend the contour product well.
- Blend in circular motions, working from the outer edges of your face towards the center.
- Use a clean brush or sponge to blend any harsh lines.
- When highlighting, use a light hand and apply the product only to the high points of your face.
- Blend the highlighter well to avoid any harsh lines.
Common Contouring Mistakes to Avoid
Contouring can be tricky, especially if you're new to the technique. Here are a few common mistakes to avoid.
- Using a contour shade that is too dark or too light. - Not blending the contour product well, resulting in harsh lines.
- Applying too much contour product, making the look appear unnatural.
- Not blending the highlighter well, resulting in harsh lines.
- Using too much highlighter, making the look appear oily or shiny.
Frequently Asked Questions About Contouring
Q: Can contouring damage my skin? A: No, contouring does not damage your skin. However, it's important to remove all your makeup before going to bed to prevent clogged pores and breakouts.
Q: Can I contour my face every day? A: Yes, you can contour your face every day. Just be sure to use a light hand and blend well to avoid any harsh lines.
Q: Do I need to use a contour product? A: No, you don't need to use a contour product. Contouring can also be achieved using a foundation that is a few shades darker than your natural skin tone.
Q: Is contouring only for women? A: No, contouring is for anyone who wants to sculpt and define their face.


